Tag: Gluten Free

  • 3-Day Gluten-Free Garlic-Parmesan Sourdough

    3-Day Gluten-Free Garlic-Parmesan Sourdough

    There is something sacred about creating a gluten-free sourdough loaf – especially one crafted slowly over three gentle days. This recipe brings together nourishing grains, simple ingredients, and the quiet joy of tending something that rises in its own time.

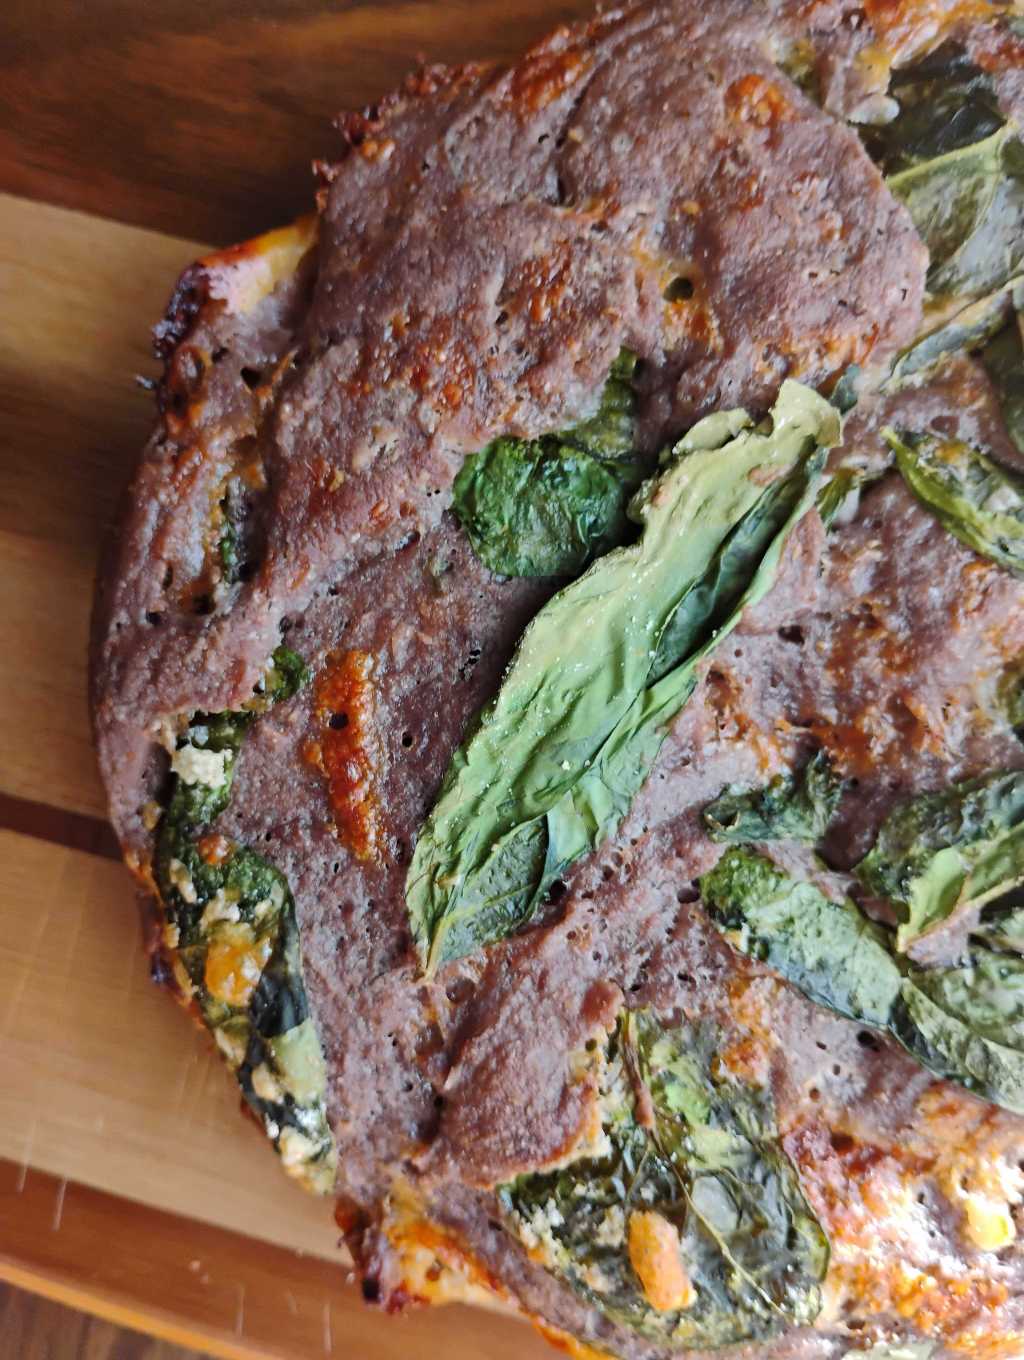
    This loaf is soft, fragrant, and filled with a beautiful garlic-parmesan-spinach swirl. It feels like comfort and I hope it blesses your kitchen the way it did mine.


    🍞 Day 1 — Levain

    Levain Ingredients

    • 25g active gluten-free sourdough starter
    • 50g warm water
    • 50g oat flour

    Stir together until smooth.
    Cover with cloth or loosely fitted lid and let the levain ferment for 8 hours or overnight, until puffy and aromatic.


    🌤️ Day 2 — Dough

    Dough Ingredients

    • 60g white rice flour
    • 70g tapioca starch
    • 65g sorghum flour
    • 70g oat flour
    • 7g salt
    • 1 egg
    • 50g warmed milk
    • 40g honey
    • 175g warm water
    • 25g psyllium husk
    • 10g ground flaxseed
    • 2g finely chopped fresh dill
    • Levain from Day 1

    Instructions

    1. In a large bowl, mix all ingredients including the levain until a cohesive dough forms.
    2. Let the dough ferment in a warm place for 2 hours (in the oven with the light on works wonderfully).
    3. Cover the bowl and place it in the refrigerator overnight for the bulk fermentation.

    This slow, cool rise helps deepen the flavor and strengthens the dough.


    🌱 Day 3 — Filling, Shaping & Baking

    Filling

    • 20g melted unsalted butter
    • 2 cloves garlic, minced
    • 40g fresh parmesan cheese, grated
    • 20g spinach, chopped
    • 4g salt

    Prepare the Dough

    1. Remove the dough from the refrigerator and let it rest at room temperature for 30 minutes.
    2. Place the dough on a piece of parchment paper and gently roll or stretch it into a 12 × 10-inch rectangle. You will want to leave plenty of space to lift the parchment to transfer the dough to the Dutch oven.
    3. Spread the filling evenly over the dough.
    4. Roll it up carefully, then bring the ends together to form a circle. Pinch to seal. You could put a small glass in the center to hold the shape while proofing. Be sure to take the glass out before baking!

    Proof

    Let the shaped dough rise in a warm spot for 4–6 hours, or until it has nearly doubled in height.

    Bake

    1. Preheat the oven to 425°F.
    2. Place the dough (on its parchment) into a covered Dutch oven.
    3. Bake 22 minutes covered.
    4. Lower oven temperature to 375°F and bake 20 minutes uncovered.
    5. Cool completely before slicing – gluten-free sourdough sets as it cools.

    Your kitchen will smell heavenly.


    Bread has always been a symbol of care – a quiet reminder that nourishing others begins with nourishing ourselves. This gluten-free loaf invites us to slow down, to trust the process, and to honor the small moments of rising and resting in our own lives.

    May this recipe bring warmth to your home and beauty to your table.


  • Easy Guide to Gluten-Free Sourdough Starter

    Easy Guide to Gluten-Free Sourdough Starter

    There’s something so grounding about creating a sourdough starter from scratch – especially one that’s gluten-free and filled with the goodness of simple, wholesome grains. It’s one of those quiet kitchen rituals that reminds us how patient, slow work brings life and nourishment.

    If you’ve been wanting to bake gluten-free sourdough at home, this little guide will walk you through those first seven days with ease and encouragement. The ingredients are humble, the process is simple, and by the end of the week you’ll have a lively, bubbly starter ready to bless your baking.


    🌱 Ingredients

    Choose one flour or mix a blend you enjoy:

    • Oat flour
    • Buckwheat flour
    • Brown or white rice flour
    • Sorghum flour

    And:

    • Filtered water (this is important—chlorine can hinder wild yeast growth)

    🥣 Day-by-Day Instructions

    Day 1: Mix Flour & Water

    • Combine ¼ cup gluten-free flour with ¼ cup filtered water.
    • Stir vigorously, scraping down the sides.
    • Cover with a clean tea towel and let rest for 24 hours.

    Day 2: Discard & Feed

    • Discard half of your starter.
    • Add ¼ cup flour + ¼ cup water.
    • Stir well and cover.
    • Rest for 24 hours.

    Days 3, 4 & 5: Repeat the Daily Rhythm

    • Each day, discard half.
    • Feed with ¼ cup flour + ¼ cup water.
    • Cover and let rest another 24 hours.

    Days 6 & 7: Increase Feeding to Every 12 Hours

    • Continue the same discard + feed routine, but now do it twice per day.
    • By Day 7, your gluten-free starter should be lively, bubbly, and ready to bake with.

    📝 Notes & Helpful Tips

    • Gluten-free starters can take a little longer to get bubbly -especially if using buckwheat. Don’t lose heart! Consistency is key.
    • I personally like using oat flour and sorghum flour -they create a mild, pleasant starter.
    • Filtered water is best. Tap water with chlorine can slow or prevent the natural fermentation process.
    • Keep your starter somewhere warm (around 70–75°F if possible).

    🍞 Helpful Tools for Gluten-Free Sourdough

    Below are some tools I use and love. They make the sourdough process easier, cleaner, and more enjoyable.


    A Gentle Thought for the Journey

    There’s such a tender reminder in sourdough: growth happens quietly, steadily, and often unseen. All we’re asked to do is show up with consistency and care, trusting something beautiful is forming beneath the surface.

    May this little starter bring warmth to your kitchen and joy to your home.


    Affiliate Disclosure

    As an Amazon Associate, I earn a small commission from qualifying purchases at no extra cost to you. Thank you for supporting The Prayer Porch and the work that goes into each post 🌿